Lift cleaning - a step by step guide
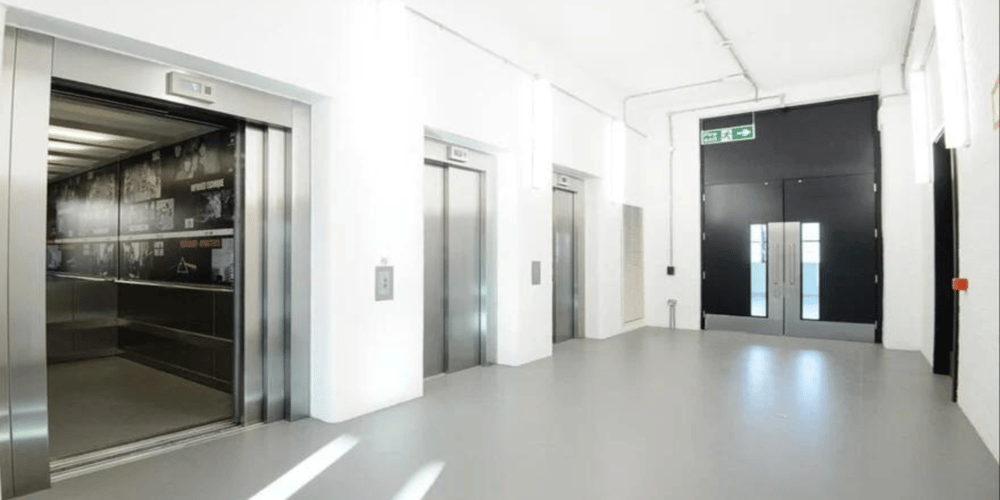
For every lift owner, building owner and facility manager, lift cleaning should be a regular activity, but it sometimes can be overlooked. To help you, we have created a helpful checklist for a clean lift environment where every passenger feels safe to operate it and travel amongst floors.
In urban environments, the lift is one of the first places someone’s likely to enter. It’s important to be mindful of the surfaces we touch, not only for our personal safety but for others around us.
Effective cleaning and disinfection on a lift are now more important than ever. Bacteria and dirt can hide and be invisible. Shoes can transfer dirt on the lift’s flooring. Lift users’ hands can leave marks on the handrails, and grime can hide on the surface of the buttons.
Regular cleaning of a lift should be based on lift usage, with a weekly once at the minimum.
What you need to know
-
Cleaning an area with normal household disinfectant will reduce the risk of passing the infections on to others.
-
Wherever possible, wear disposable or washing-up gloves and aprons for cleaning. These should be double-bagged, then stored securely for 72 hours, then thrown away in the regular rubbish after cleaning is finished.
-
If an area has been heavily contaminated, such as with visible bodily fluids, from a person with coronavirus (COVID-19), consider using protection for the eyes, mouth and nose, as well as wearing gloves and an apron.
You can use cleaning products that are safe for domestic and commercial use to clean the mirrors. We would advise avoiding sponges as extensive moisture can damage electrical parts such as push buttons. We’d recommend using a cloth with sanitiser. Use the damp cloth with circular movements to clean surrounding glass, colour coated and stainless steel surfaces.
Step 1 - Before you begin - isolate the lift doors - switch the power off
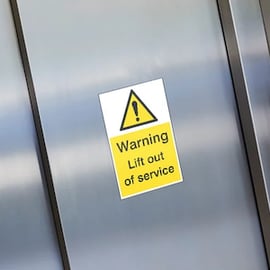
Before starting, ensure that:
-
For home lifts - the lift’s electrical power has been switched off
-
For passenger and platform lifts - doors have been isolated
Now you can safely manoeuvre in and out of the lift without worrying about lift doors closing or obstruction. We would advise using relevant signage to notify potential lift users that they cannot use the equipment while cleaning. Once you have ensured all precautions have been put in place, you are ready to clean.
Step 2 - Clean from top to bottom
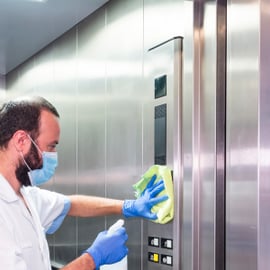
It is beneficial to clean the lift from the inside going outside, and from top to bottom. This prevents already clean surfaces from being contaminated by dirt and bacteria. It’s always best to use non-corrosive cleaners - no one enjoys a lift ride with lingering smells!
First, clean hard surfaces with warm soapy water (wrung to damp) using a disposable cloth. Then disinfect these surfaces with the cleaning products you normally use. Pay particular attention to frequently touched areas and surfaces, such as grab rails, buttons and door handles.
Step 3 - Cleaning lift buttons and handrails
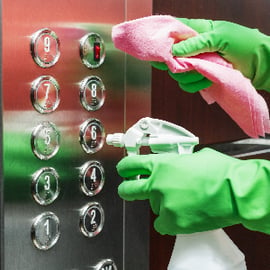
Use an antibacterial cleaning product to wipe handrails and keypads.
Use a microfiber cloth to wipe these areas and remove stacked dirt, dust and hair.
Clean the buttons first with smooth, delicate strokes.
Avoid spraying directly at the control panel surfaces, as there is a high risk of damaging the electrical components inside the keypad. You don’t want the cleaning liquid seeping into the control operating panel.
Step 4 - Cleaning the elevator car & doors
/cleaning-in-progress.png?width=270&height=270&name=cleaning-in-progress.png) Use a damp cloth to clean the lift doors and any steel surface. Alternatively, you can use a non-abrasive cleaner - remember, dust and dirt can fall from the ceiling.
Use a damp cloth to clean the lift doors and any steel surface. Alternatively, you can use a non-abrasive cleaner - remember, dust and dirt can fall from the ceiling.
You may need a step ladder, depending on the height of the elevator, to help you reach the ceiling safely. This would allow you to safely clean the ceiling and the high parts of the lift doors and walls.
We would advise you not to use harsh cleaning chemicals to clean stainless steel and colour-coated surfaces. Those surfaces are sensitive to various cleaning products, and you might damage them. To give a shiny result to any stainless steel surface, use a few drops of baby oil and a cloth to wipe and polish them.
Tip: Shoes, trolleys and wheelchairs can transfer all sorts of dirt to your lift car floor. Therefore we recommend floor cleaning. There are different flooring types, so we recommend brushing and vacuuming carpeted floors and polishing and cleaning tiles and steel floors.
Don’t skip vacuuming the gaps and tracks between the doors at each landing level. Once all large scraps and dirt have been removed, wipe the stainless steel surfaces with a clean damp cloth or use a non-abrasive cleaner.
Step 5 - Professional maintenance - cleaning the lift shaft
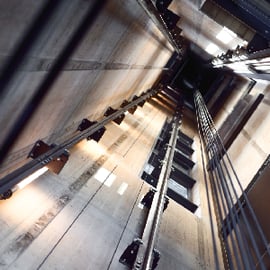
Following the above steps will ensure that your lift car is clean. However, the cleaning of the pit area is just as important as the interior of the lift car. Only competent and certified engineers have access to clean the lift pit. During regular maintenance, your lift service provider should remove dirt, trash and debris.
Just think of the accidental drop of small items through the gaps between the doors, such as keys, cards, mobile phones even food! And that’s not all; regular cleaning will prevent moving parts of the lift from rusting and limit pest infections.
Summary
We hope the blog on lift cleaning was helpful. We've also got one on escalators and moving walkways. There's also Government guidance on COVID cleaning in non-healthcare settings here: covid-19-decontamination-in-non-healthcare-settings.
We know how to take care of your lifting equipment. Our service engineers will give your lift a general clean and wipe over any lift surfaces during all our regular maintenance visits.
With over 50,000 installations across the UK and nearly 100,000 units in our service portfolio, we offer a wide range of lift solutions and services to move people and goods. Take a look at our product range or simply get in touch.
Contact Us
